Import a GLB Environment Into Unity and Make It Playable
A generated GLB or FBX location lands in Unity in minutes. Making it playable takes import settings, colliders and lighting — here is the whole path.
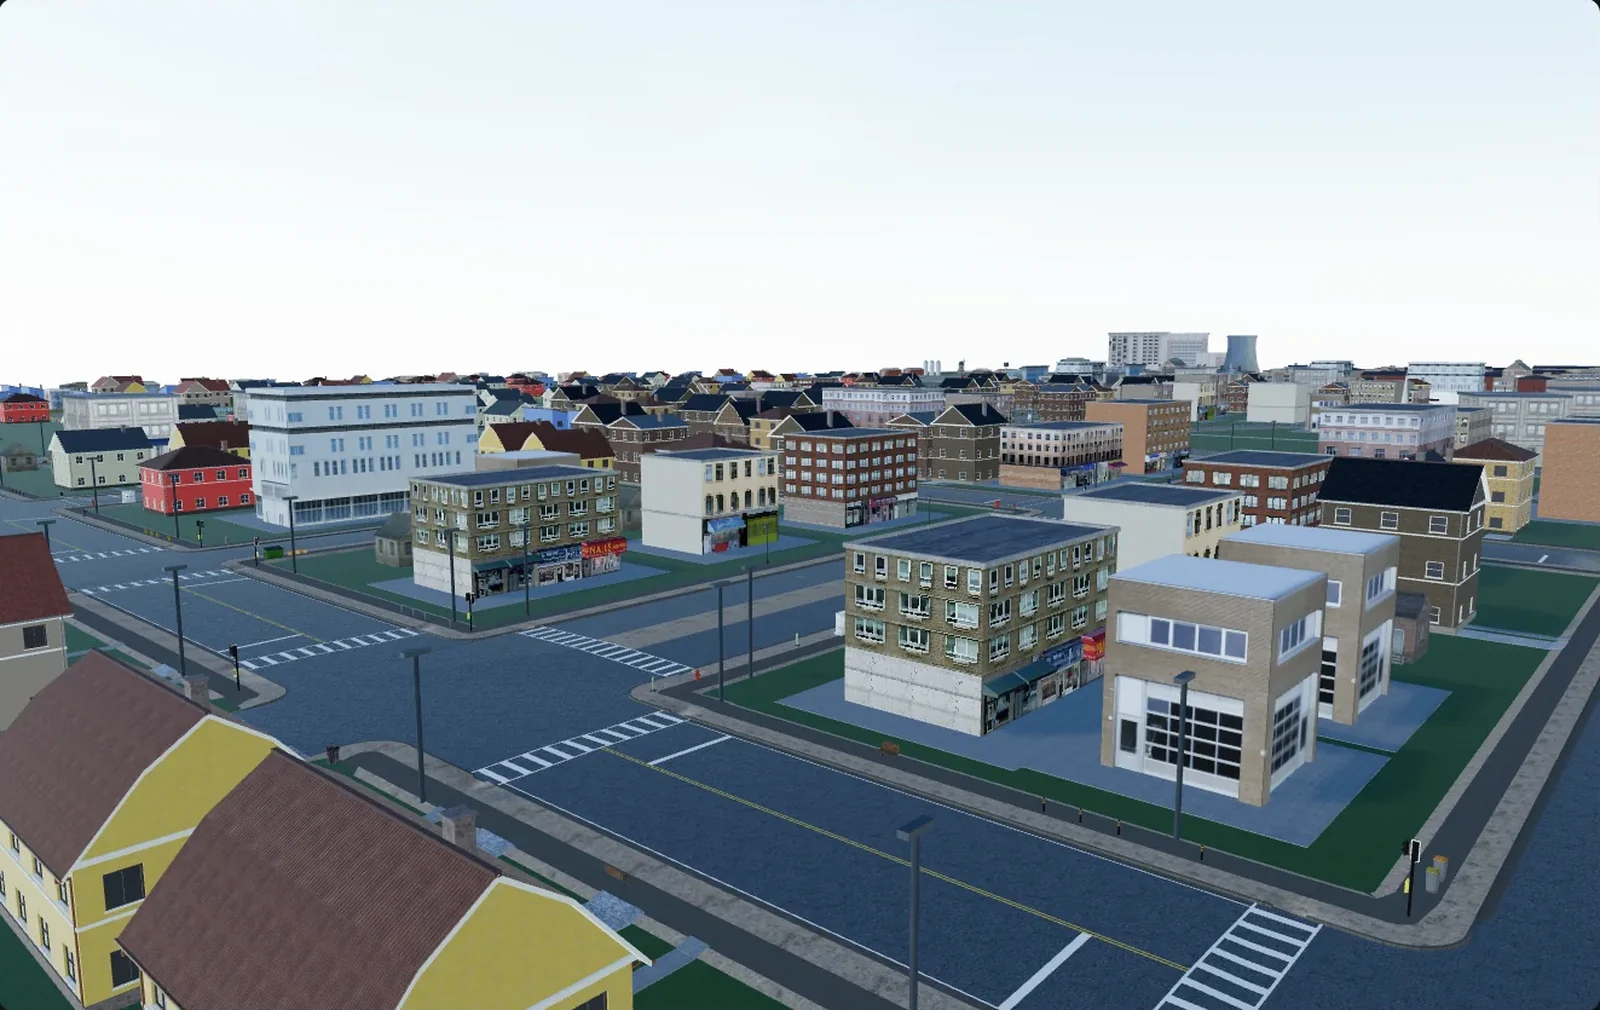
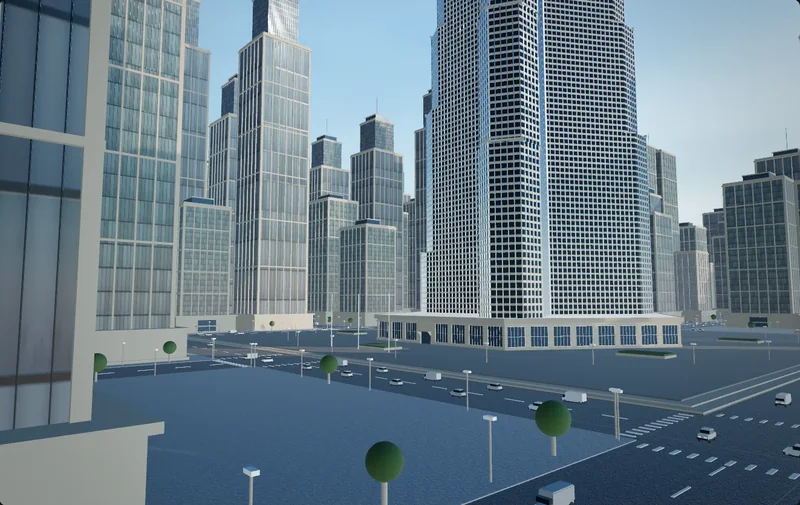
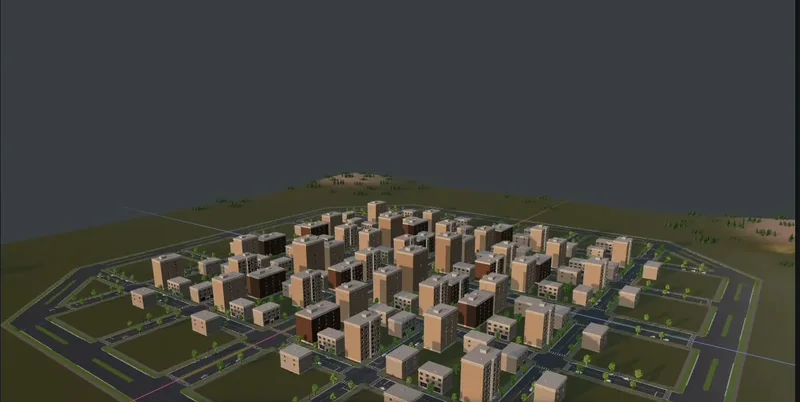
A 60 MB GLB of a whole town lands in your Assets folder and Unity ignores it. Or it imports, and the buildings are the size of a coin. Or the size is right, everything is magenta, and your character falls through the pavement. This is the standard first twenty minutes with a generated environment, and every step of it has a named setting behind it.
What follows assumes you have a GLB or an FBX of a location and a more or less empty Unity project. The goal is a scene you can walk around in, not a screenshot.
Getting the file into the project
Unity's model importer reads FBX, OBJ, DAE and DXF out of the box. glTF and GLB it does not: there is no built-in importer, which is why a .glb dragged into a fresh project sits there inert. You add one with a package.
That package is Unity glTFast, and it does not appear by name in the Package Manager list: Window > Package Manager, the + button, Add package by name, then com.unity.cloud.gltfast. Recent releases want Unity 2021.3.46f1 or newer and cover the Built-in, Universal and High Definition pipelines. After that .gltf and .glb import like any other model — a prefab, with meshes, materials and textures as sub-assets.
Which format to export, when the tool gives you a choice, depends less on the formats than on what you do after the import. Cuberta, for one, writes GLB or FBX with the textures included, so this is a dropdown rather than a conversion step.
| If you need | Export | Why |
|---|---|---|
| Baked lightmaps | FBX | Unity's importer generates the second UV set; glTF importers are inconsistent |
| Textures to arrive with the file | GLB | They sit inside the binary — nothing to relink |
| To remap hundreds of material slots at once | FBX | The Materials tab has Search and Remap |
| The shortest loop while you iterate | GLB | One file out, one in, no texture folder to sync |
The argument about the formats themselves is a separate one. Either works here; the table is about which costs less afterwards.
Scale, and how to check it in ninety seconds
The hundredfold problem
Unity's physics treats one world unit as one metre, and every controller, gravity value and drag setting assumes it. FBX carries its own unit scale in the file, and plenty of exporters write centimetres. Convert Units on the Model tab reads that declared scale and converts it; Scale Factor is the manual multiplier for when the declaration was wrong. A town that arrives a hundred times too big is almost always one of those two fields. Bake Axis Conversion, on the same tab, bakes an up-axis correction into the mesh data instead of hiding it in a rotated root object.
glTF is specified in metres, so a GLB rarely arrives at the wrong scale — but it is right-handed where Unity is left-handed, and importers resolve that by flipping one axis. If the town looks correct yet reads mirrored, lettering backwards and a road that curved right now curving left, that is what you are seeing.
Measure against a character controller, not by eye
Before building anything on top of the import, put a CharacterController in the scene — height 2, radius 0.5, step offset 0.3, slope limit 45 — give it ten lines of movement code and walk the location. Four things tell you almost everything:
- Doorways clear the 2 m capsule with headroom rather than scraping it.
- Kerbs are 0.1–0.15 m, so the step offset carries you up without a jump.
- Stair risers sit under the step offset, or you climb nothing.
- A road lane is 3–3.5 m, about three strides across.
If you need Scale Factor 0.35 to make the doors fit and the pavements then look like runways, the problem is proportions rather than units, and no import setting repairs that.
Materials: what survives, and what you rebuild
The pipeline you are in decides the shaders
Base colour, metallic-roughness, normal, occlusion and emissive maps, the alpha mode, double-sided flags and vertex colours all cross over. Anything engine-specific does not: shader graphs, custom shaders, decal projectors, terrain layers, triplanar setups. Those are re-authored in Unity or not at all.
An importer also picks shaders for the render pipeline active at import time. Import a GLB into a Built-in project, then switch to URP, and every material from that file turns magenta. Two ways out, depending on whose shaders they are:
- Unity's stock shaders — typical for FBX, which lands on Standard or URP/Lit. Use Window > Rendering > Render Pipeline Converter, set the source and target pipelines, run the material converters. It ignores custom shaders and changes the project irreversibly, so commit first.
- The glTF importer's own shaders — the converter has no mapping for these. Set the pipeline up first, then right-click the asset and reimport.
Rebuilding a material by hand: watch the channels
glTF packs roughness into the green channel and metallic into blue of one texture, with occlusion in red when it shares the map. Unity's Standard shader wants metallic in red and smoothness — one minus roughness — in alpha. Drop a glTF metallic-roughness map into a URP/Lit metallic slot and the surface is wrong twice over: wrong channel, and inverted. The importer's own shaders read the glTF layout directly, which is why swapping them for URP/Lit "to tidy up" makes a whole town look like plastic.
Two texture flags fail silently. Normal maps must use the Normal Map texture type — treated as colour data, a normal map does not look broken, it looks flat. And any packed mask must have sRGB unticked, or the values are gamma-decoded and everything reads slightly too shiny. On the FBX side this all lives on the Materials tab: set Location to Use Embedded Materials, click Extract Materials and Extract Textures, then use Search and Remap to point hundreds of slots at your own library in one pass.
Colliders: take the mesh colliders off
Generated geometry and Mesh Colliders pair badly, for a hard engine reason rather than a matter of taste. A Mesh Collider is either convex or not. Non-convex is static only — attach a Rigidbody and Unity refuses. Convex is capped at 255 triangles, and a generated house is three to thirty thousand. So a building's visual mesh works as a collider only if the building never moves, and even then you are asking physics to test every triangle of a facade to report that the player walked into a wall.
Turn Generate Colliders off on import and make a deliberate pass instead:
- Ground, roads, terrain — a non-convex Mesh Collider on the visual mesh is acceptable for one broadly flat sheet. A low-poly collision mesh is better; a single box under a flat district is better still.
- Buildings you never enter — one Box Collider per footprint, sized to the renderer bounds.
- Buildings you enter — boxes per wall, floor and ceiling, with doorways as the gaps between them. Slower to set up, an order of magnitude cheaper at runtime.
- Trees, lamp posts, signs, bollards — a Capsule Collider on the trunk or pole, nothing on the canopy. Players expect to walk under branches.
- Kerbs and low steps — often nothing at all. The step offset carries the controller over them; a collider there only makes the player stumble.
- Anything with a Rigidbody — primitives, or a convex mesh under 255 triangles. There is no third option.
Colliders describe where the player can go, not what the object looks like. A cathedral gets a box.
For four hundred objects, script the pass: an editor script that walks the hierarchy, adds a BoxCollider sized to each Renderer's bounds and skips your vegetation name prefixes gets you most of the way in under a minute. That only works if the location arrived as separate objects rather than one welded mesh, which is worth confirming before you export — in an agent-driven editor like Cuberta every building and prop stays a selectable object. Leave Prebake Collision Meshes enabled in Player Settings while you are there; cooking mesh colliders at runtime shows up as a frame spike when the scene loads.
Lighting: the missing second UV set
Almost every generated mesh ships one UV set, the one the textures use. Lightmapping needs a second, laid out so no two triangles overlap inside the unit square. Without it the bake comes out black in patches, or seamed, or bleeding light from one wall through to the next.
For FBX the fix is one checkbox: Generate Lightmap UVs on the model's import settings creates the second channel. The cost is worth knowing before you tick it on three hundred meshes.
- Import time. Unwrapping a few hundred meshes takes minutes, and it runs again on every reimport.
- Texel efficiency. Automatic packing is looser than a hand-made unwrap, so you spend more lightmap resolution for the same result.
- It does not repair geometry. Overlapping or degenerate triangles in the source still leak after unwrapping.
glTF importers are inconsistent about generating lightmap UVs at all, which is the practical reason to take FBX into Unity when you already know you are baking. If you are committed to GLB, generate the channel in an editor script with Unwrapping.GenerateSecondaryUVSet on each mesh.
Weigh one alternative before you fight the unwrapper. In Unity 6, Adaptive Probe Volumes give URP and HDRP baked indirect lighting with no lightmap UVs and no hand-placed probes — Unity distributes them by geometry density. For a generated location, where you do not control the UVs anyway, that is often the better bargain. You give up fine baked shadow detail on static surfaces: probes carry indirect light, not crisp contact shadows.
Where a big location starts to hurt
Four hundred objects is four hundred draw calls before a character enters the scene, and a generated town reaches that quickly. Three settings do most of the work:
- Static flags. Mark everything that does not move as Static. That buys static batching — Unity merges meshes into shared buffers of up to 64,000 vertices each — plus occlusion culling and GI participation. The cost is memory: those buffers are extra copies of the geometry, so a town of unique meshes can add hundreds of megabytes.
- GPU instancing. If the generator reused one lamp post sixty times, tick Enable GPU Instancing on its material and the sixty collapse into far fewer calls. Unique buildings gain nothing. Note the precedence: Unity disables instancing on a renderer it has successfully static-batched, so identical props are one or the other.
- Read/Write. Leave it off unless something reads mesh data at runtime; enabled, it keeps a second copy of every mesh in CPU memory.
LOD chains, atlasing and triangle budgets are a subject of their own, and optimising a generated scene for a game covers them properly.
The five failures people actually hit
- Everything is magenta. The materials carry shaders for another render pipeline. Reimport with the target pipeline active, or run the Render Pipeline Converter for stock shaders.
- The town is a hundred times too big or too small. FBX unit scale: Convert Units and Scale Factor on the Model tab, verified with a 2 m capsule rather than by eye.
- The character falls through the ground. There are no colliders — glTF carries none, and Generate Colliders is an FBX option you probably left off on purpose. Do the collider pass.
- The bake is black or blotchy. No second UV set. Generate Lightmap UVs for FBX, an editor script for GLB, or move to Adaptive Probe Volumes.
- Play mode runs at 12 fps with nothing in the scene. Draw calls and shadows. Mark static, disable shadow casting on small props, and read the Stats window before guessing.
The import itself is twenty minutes. The collider pass and the lighting decision are the afternoon — the same afternoon a hand-built level would have cost, except that you start from a town with real doorways and real lane widths instead of a grey box. Do it carefully once: every reimport after that rides on the settings you chose the first time.